 Perilous
 Agriculture
Grow the crops, raise the animals, and keep the bees that feed the Trade Pack economy.
Overview
Farming is the production layer under the Trade Pack economy. Packs are crafted from regional goods, and those goods start as crops you grow, animals you raise, and honey your bees make. If trade packs are the caravan, farming is what fills them.
It rewards space and patience over clicks. You place pots and hives and livestock on farmland, tend them on a daily-ish clock, and harvest them into the raw materials every recipe needs. None of it is fast, but it is the supply line that the whole trade economy runs on - and you can sell the surplus to players who would rather haul than garden.
Where You Can Farm
Crops, livestock, and beehives can only be placed on flagged farmland. There are two ways to get it:
- A flagged farmhouse. Staff can flag a townhouse as a farmhouse, which turns its floor into legal farmland. The house owner and co-owners can then farm there.
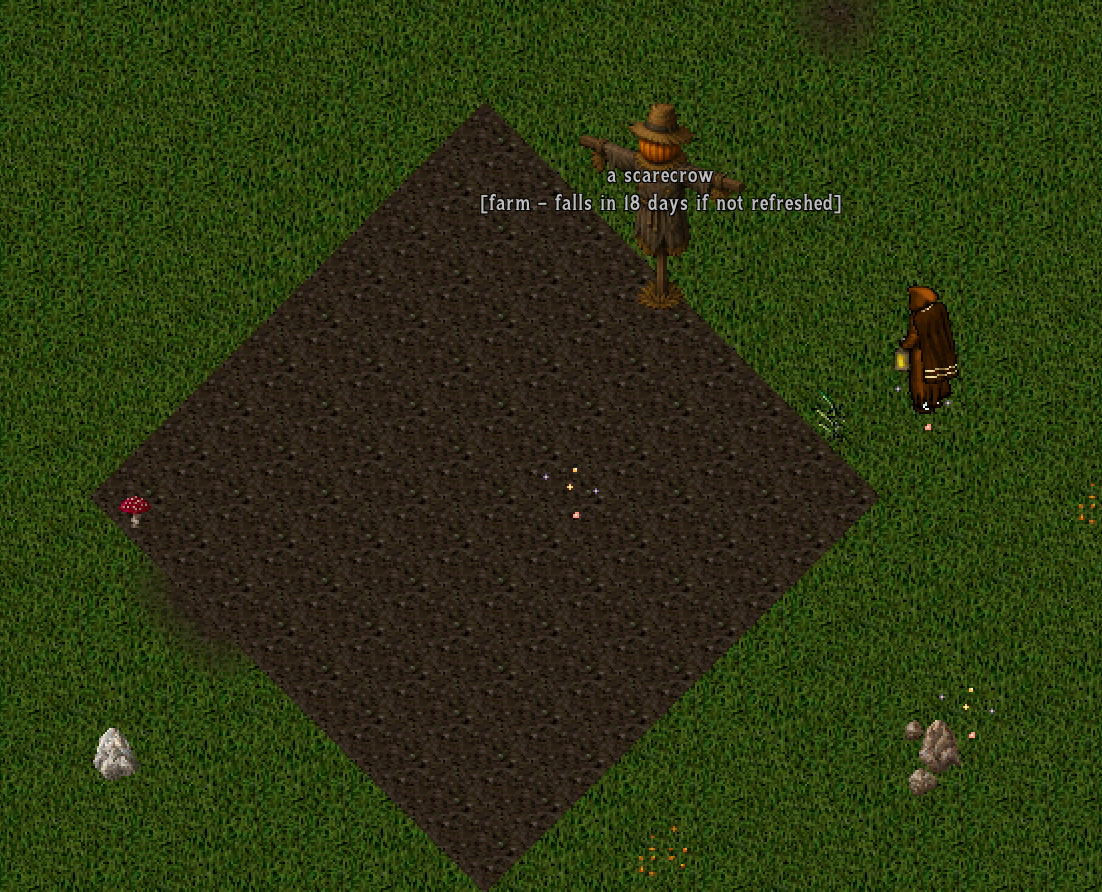
- A Scarecrow Farm. The self-service option: place a Scarecrow Farm Deed to drop a 9x9 plot of farm dirt with a scarecrow, no house required. Only you can tend it. Refresh it by double-clicking the scarecrow once a month, or it collapses after 32 days. You may own one scarecrow farm in addition to your one house.
Farms cannot overlap each other, and each placement reserves its own footprint, so your usable farmland is the real cap on how much you can grow at once.
The Farm Cottage & Manor
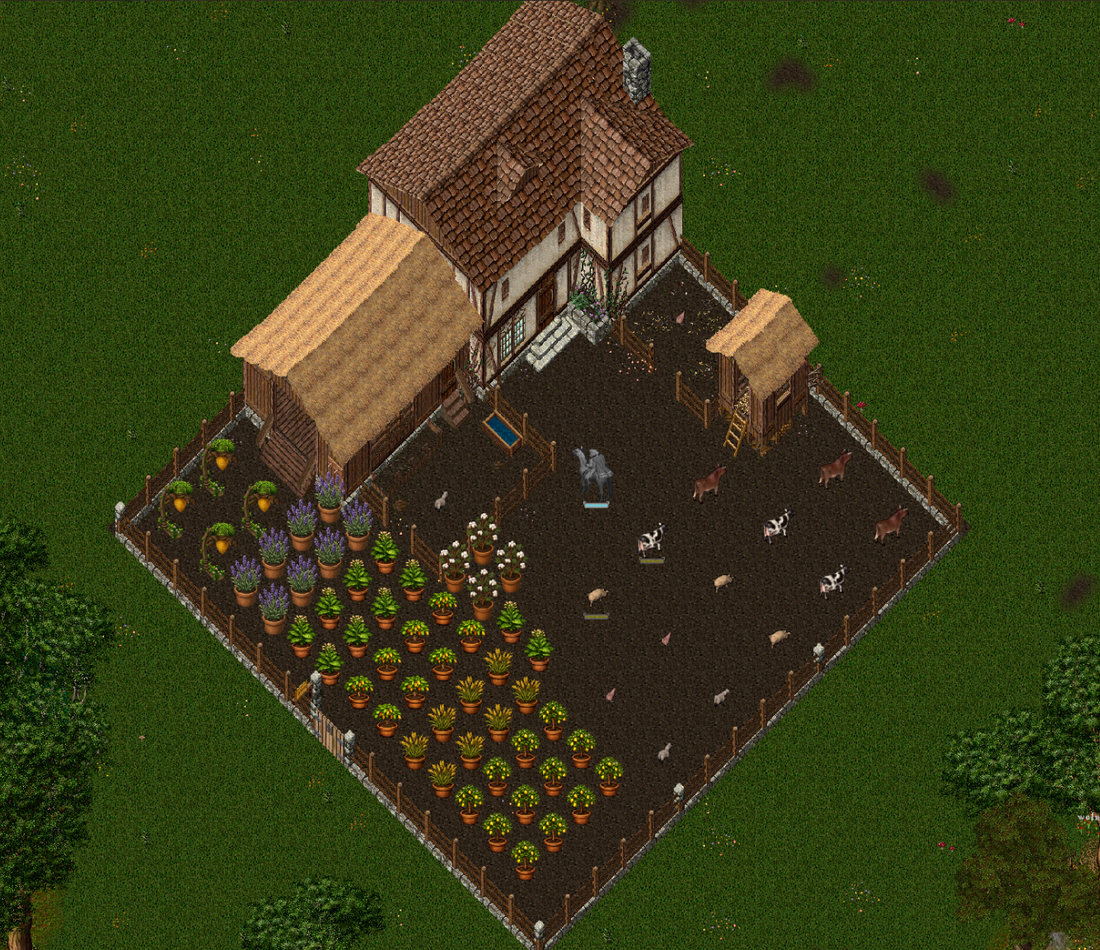
If you want a home and a farm in one deed, there are two purpose-built farmhouses. Both place like any other house, and both turn their entire fenced yard into real, ready farmland the moment they land - the yard is covered in farm dirt automatically, counts as part of the house, and is closed off behind a player-openable double gate that the owner can lock.
- The Farm Cottage - a two-story L-shaped cottage with a boardwalk porch on a 17x18 plot, its picket-fenced yard wrapping the east and south sides. Just over a hundred tiles of the plot are farmable yard. Sold by the Real Estate Broker.
- The Farm Manor - the big sister: a full 31x32 farmstead with a two-story manor house, a thatched barn, a chicken coop, a small paddock, and a large fenced yard that is all workable farmland. Sold by the Architect.
Crops & Seeds
The Farmer NPC in each producer town sells the full catalogue - no region-locked stock, any seed anywhere. Seeds are sold by the Farmer. There are eleven trade crops:
| Crop | Crop | Crop |
|---|---|---|
| Wheat | Lavender | Cotton |
| Hops | Olives | Lemons |
| Tobacco | Barley | Cocoa |
| Sugar Cane | Tea Leaves |
The Farmer also stocks the tools of the trade: a crop pot, fertile dirt, a gardening spade, Merchant Certificates, and the beekeeping gear covered below.
Reagent Crops
Mages can farm too. Alongside the trade crops, the Farmer sells eight reagent seeds - one for each magery reagent. They grow in the same crop pots, on the same farmland, under exactly the same rules as every other plant: daily watering, the same sickness and antifungal cure, the same spade harvest. Only two things differ:
- They mature in 72 hours, everywhere. Reagent crops have no home region and no 2-day/4-day split - three days flat, wherever you plant them.
- A harvest pays a full stack of 500 reagents. The usual harvest rolls still apply on top, so a lucky pull pays double, and the plant survives to regrow about half the time.
Each seed is dyed to match its reagent, so a mixed rack of pots reads at a glance:
| Seed | Colour | Harvests to |
|---|---|---|
| Black Pearl Seed | Dark purple | Black Pearl |
| Bloodmoss Seed | Red | Bloodmoss |
| Garlic Seed | White | Garlic |
| Ginseng Seed | Light brown | Ginseng |
| Mandrake Seed | Dark brown | Mandrake Root |
| Nightshade Seed | Green | Nightshade |
| Spiderweb Seed | Grey | Spiders' Silk |
| Sulphurous Ash Seed | Bright yellow | Sulphurous Ash |
Each reagent plant has its own potted look in the yard, so the garden itself tells you what is growing where. For a serious caster, a few pots on rotation means never buying reagents again - and surplus stacks sell to every mage on the shard.
The Crop Lifecycle
Trade crops are grown in pots, not the old decorative-plant way. The steps:
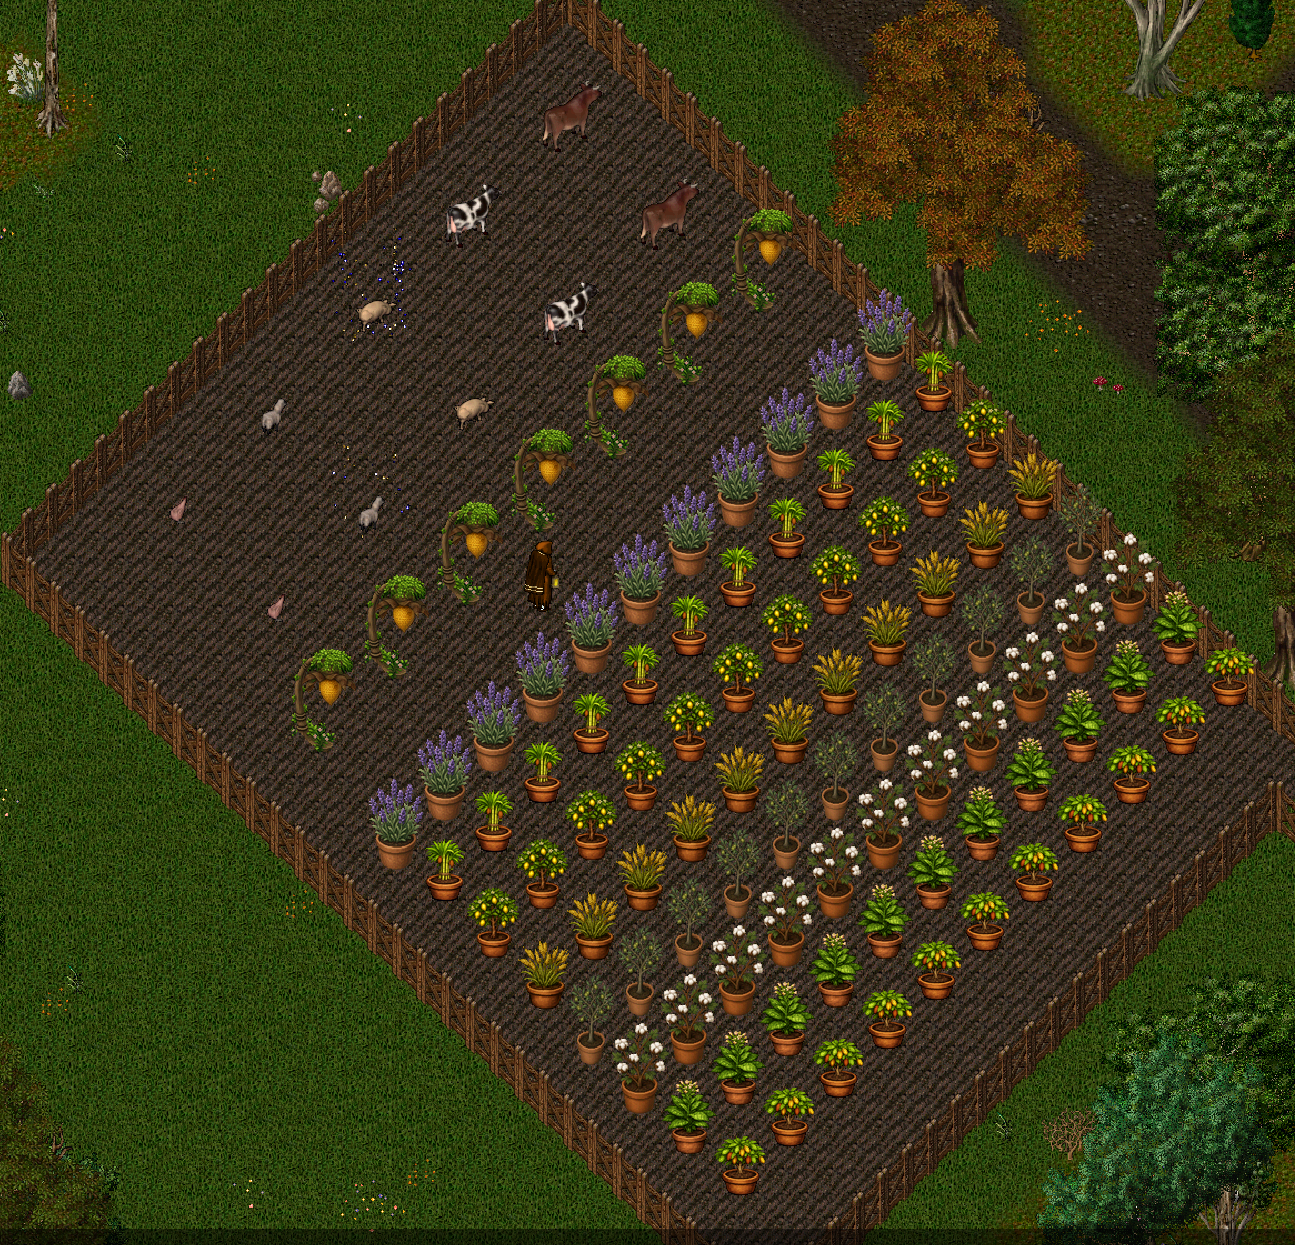
- Place a pot. Double-click a crop pot in your pack and target a clear 2x2 of farmland. Legal tiles flash green, blocked ones red. Once set, the pot is fixed - it will not decay and cannot be picked up.
- Add dirt, then a seed. Use fertile dirt on the pot, then a seed. Now only harvesting can remove it.
- Water it daily. Water the plant every 24 hours. Miss the window and there is a 50% chance it falls sick (it sparkles green). A sick plant needs an Antifungal Potion (an Alchemy craft) within 24 hours or it dies, and it cannot be harvested while sick.
- Harvest when mature. A plant grows through sprout, growing, and mature stages, sparkling at 100%. Use a gardening spade on a mature pot to harvest.
Each harvest gives 1 resource (75%) or 2 (25%). Then the plant rolls its own fate: 50% it survives and restarts its growth cycle in place, 50% it is spent and withers away. Harvesting an immature plant just clears it for nothing, like culling a young animal early.

The upshot: a plant gives you a couple of harvests on average before it dies, so a productive farm means a lot of pots, not a few pampered ones. Plan for churn.
Regional Growth Zones
Every crop grows anywhere, but each has a home region where it matures in 2 days instead of the usual 4. Four crops are "neutral" and always take the full 4 days. Note that a crop's home region is deliberately not the town whose pack recipe uses it - that mismatch is what keeps raw crops moving between regions.
| Crop | Home region |
|---|---|
| Olives | Britain |
| Cotton | Skara Brae |
| Wheat | Yew |
| Lavender | Trinsic |
| Tobacco | Minoc |
| Cocoa | Vesper |
| Lemons | Moonglow |
| Hops, Barley, Sugar Cane, Tea Leaves | none - always 4 days |
The bonus applies inside each town's marked growth zone - the farm country surrounding the town, not just the streets inside its walls. If you are farming outside any marked zone, everything grows at the 4-day rate - confirm your plot counts before betting on the fast clock.
Only crops are regional. Livestock and beehives run at the same speed everywhere - an animal takes its week and a hive makes its honey no matter whose fields they stand in. So the decision that regional zones actually drive is where you put your pots: a farm sited in the zone whose crop you grow doubles your crop output while costing you nothing on the animal side.
Livestock
Livestock add meat and dairy to the mix, and those resources come from nowhere else - they feed the double-value Elite trade packs. The Livestock Rancher sells five animal statues, plus a reusable Husbandry Knife.
Place a statue by targeting a 4x4 plot of flagged farmland (green/red preview, then confirm). The full-size animal appears immediately. It is invulnerable, blessed, and rooted to its plot - players cannot kill it - and it matures over about one real week, sparkling once it is ready. When it is mature, use the Husbandry Knife on it to slaughter it for 10 resources. Slaughtering an animal before it matures wastes it for nothing (the knife warns you first).
| Animal | Yields (10 per slaughter) |
|---|---|
| Bull | Racks of Ribs |
| Cow | Milk |
| Sheep | Mutton |
| Pig | Bacon |
| Chicken | Raw Chicken |

Bees, Honey & Certificates
Honey and the Merchant Certificate are the last links in the supply chain, and both run through the Farmer.
Beehives. Buy a beehive deed and a Queen Bee from the Farmer. Place the hive on a 3x3 of farmland, then drop the Queen Bee into it to activate it - she is permanent. An active hive produces honey passively every 8 hours (1 honey at 75%, 2 at 25%), stockpiling up to 10. Double-click it to collect what has built up. Honey goes straight into the Britain, Yew, and Moonglow pack recipes and into the Antifungal Potion.
Merchant Certificates. Every trade pack needs at least one (Elite packs need two). Buy them from the Farmer, or have a scribe make them - Inscription 80, from 10 Blank Scrolls and 1 Beeswax. Either way, no certificate means no pack, so keep a stack on hand.
Tips
- Grow crops in their home region for the 2-day turnaround instead of 4. It roughly doubles a plot's output.
- Water daily. A missed day is a coin flip on losing the plant, so keep an Antifungal Potion handy for the ones that turn.
- Go wide, not deep. Plants die about half the time on harvest - production comes from many pots, not careful tending of a few.
- No house flagged for farming? Drop a Scarecrow Farm Deed. One deed, a 9x9 plot anywhere legal, refreshed monthly.
- Livestock and bees are slow but they gate the best money - meat feeds the double-value Elite packs, and every recipe needs a certificate.
- Do not want to grow it all yourself? Buy surplus crops, honey, and meat from other players and focus on the haul.