 Perilous
 Bosses & Champions
The hardest creatures on the shard, and the reason to bring friends - the biggest health bars pay the biggest rewards.
Overview
Bosses are the peak of the shard's monster ladder - creatures with health bars deep enough that soloing one is usually a bad idea. They anchor the dungeons, the sea, and the event fleets as the thing worth organizing a group for, and the rewards scale to match the fight.
What makes a boss a boss on Perilous Legends is not a special flag - it is raw difficulty. The loot system reads a creature's toughness directly and pays out accordingly, so the meanest thing in the room is also the most rewarding thing to kill.
Difficulty Drives Loot
Loot on the shard is tied to a creature's maximum Hit Points, sorted into difficulty tiers. A trash mob sits in the low tiers and drops little; a boss sits at the top and drops the most. As a creature's HP climbs, so does the gold, the number and quality of magic pieces, and the odds on rare drops. The full breakdown is on the Loot System page; the short version:
| Tier | Max HP | Roughly what it is |
|---|---|---|
| Poor / Meager | 1 - 199 | Common overworld creatures |
| Average | 200 - 599 | Tougher dungeon fodder |
| Rich | 600 - 1,999 | Mini-bosses, combat mounts, dangerous packs |
| Filthy Rich | 2,000 - 4,999 | Serious boss creatures |
| Ultra Rich | 5,000 - 14,999 | Major bosses and ship captains |
| Super Boss | 15,000+ | The apex encounters |
On top of gold, high-tier kills roll magic gear, rare cloth and dyes, spell-hue deeds, and enchanting recipes whose quality climbs with the tier - the best recipes come off the biggest bosses. A few bosses have their reward tier forced above what their health alone would give, so a creature that is dangerous out of proportion to its HP still pays like the threat it is.
Double Boss Rewards
Bosses are deliberately the best target for two of the shard's reward tracks. On the three boss tiers (Filthy Rich, Ultra Rich, Super Boss) the rare, ultra-rare, and mythical drop chances run at double the base rate, and class-coin drops are doubled across the board - the top two tiers effectively hand a class coin on every kill. Class coins are the per-class currency you spend on class rewards, so a boss run is one of the best ways to bank them.

Rewards are gold, gear, rares, recipes, and class coins. There is no pay-to-win currency anywhere on the shard. Exact drop rates and gold amounts are tuned over time - treat the tiers here as the shape of the system and confirm live numbers in-game.
The Big Ones
A sampling of the shard's real bosses, with the health bar you are signing up for. Anything Ultra Rich or above is a group fight:
| Boss | Approx. HP / tier | What you're up against |
|---|---|---|
| Dragon Turtle | ~60,000 (Super Boss) | The deepest health bar on the shard. Dragon breath, heals itself mid-fight, and can dismount you. Drops the rare egg that hatches a Dragon Turtle pet. |
| Leviathan | ~50,000 (Super Boss) | The great sea boss. A damage aura that chews hulls, a ranged lethal-poison spit, a rage that doubles its melee, and a fear that freezes you. Immune to anyone not on a ship or a dolphin - you fight it from the water. |
| The Grand Admiral | ~20,000 (Super Boss) | Flagship boss of the Armada fleet event - a caster with a heavy melee escort and its own crew. |
| Ship captains | ~5,000 - 10,000 (Ultra Rich) | The Dread Pirate, the Spectral Captain, and Armada Commanders at the helm of hostile ships. See The Sea. |
| Large Beholder | ~4,000 (Filthy Rich) | A floating horror that throws fire, drains, and fears. |
| Formorian Giant | ~3,000 (Ultra Rich, forced) | Lobs boulders up to twelve tiles. A red mark hits the ground about a second before impact - stand in it and you take heavy damage and a two-second paralyze. Dodge the marker. |
| Khal Ankur, Krampus | ~2,000 - 2,600 (Filthy Rich) | Named casters that hit hard and summon help. |
| Tarantula | ~1,200 wild (Ultra Rich, forced) | Poison spit, poison breath, and deadly-poison bites. Also the shard's tameable giant-spider mount if you would rather ride one than kill it. |
Fighting a Boss
The dangerous creatures each fight differently, and most of them reach out. Ranged poison globs, breath cones, thrown boulders, and area effects mean you cannot just stack on top of one and trade blows. The common threats you will learn to play around:
- Breath weapons. Dragon breath and its elemental re-skins hit hard at range - the Dragon Turtle and the shard's dragons all carry one.
- Ranged poison. Spit and venom bolts land greater or lethal poison from across the gap. Keep an antidote and don't clump.
- Telegraphed area hits. The Formorian Giant's boulder shows a ground marker before it lands - the tell is there, use it.
- Fear. Several bosses can freeze you in place for a couple of seconds. Bring a way to break it or a friend to peel aggro.
- Auras and rage. Damage auras punish standing close; rage buffs double a boss's output for a few seconds. Spread out and watch for the hue flip.
The theme is simple: spread out, keep line of sight in your favour, and bring answers to freeze and poison.
Champions
Champions are the other half of the endgame - escalating spawn encounters where you grind through waves of increasingly nasty creatures to raise the level, feed the red skull, and summon the champion at the top. To keep the action concentrated instead of spread thin across the map, only three champion spawns are live at any one time, out of ten placed around the world, and they cycle on a schedule. That system has its own page: Champion Rotation.
Hidden Golden Chests
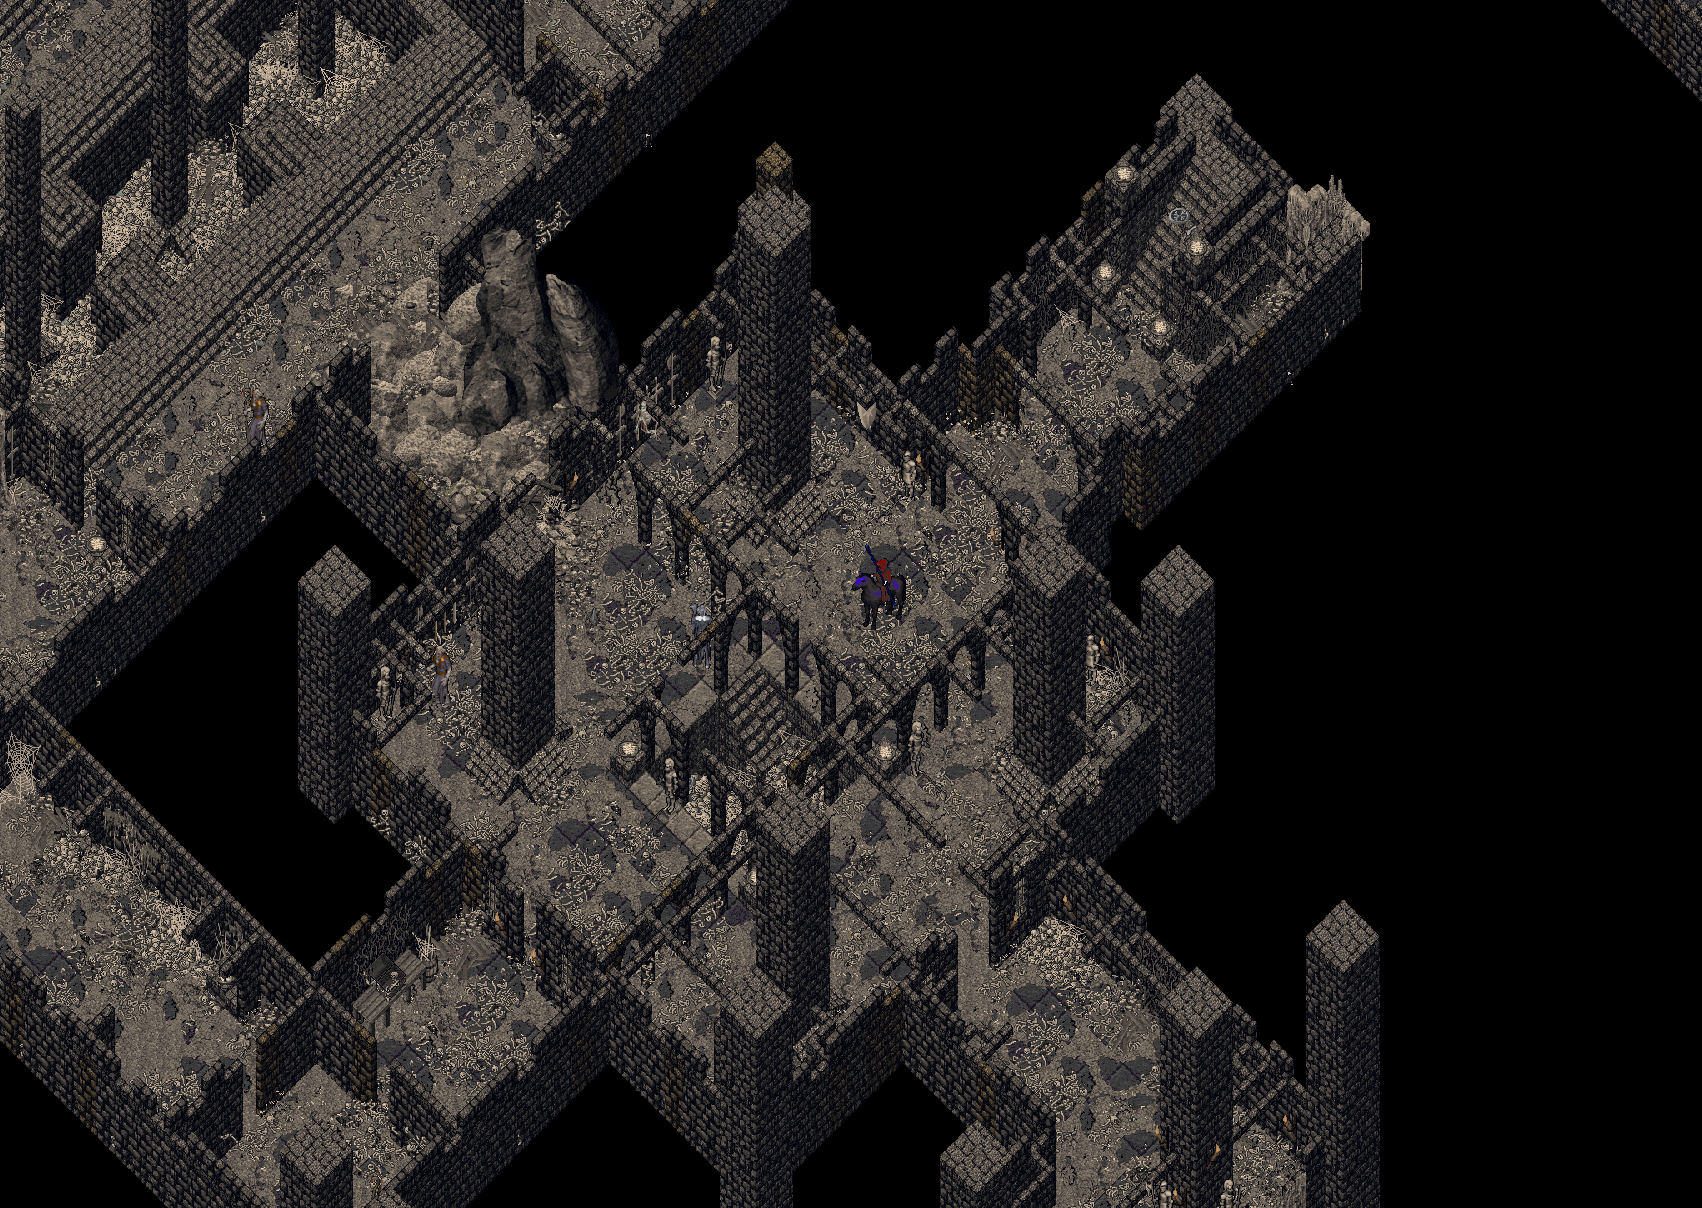
Some dungeons hide a super-rare reward on top of their monsters: an ornate golden chest that spawns invisible and locked on the dungeon's deepest level, stuffed with a full Ultra Rich-tier loot pack (the same fill as a level-5 treasure chest, plus a shot at the unique pool). You cannot see one walking past - it has to be revealed with Detect Hidden or the Reveal spell, and then it takes a near-grandmaster lockpicker to crack: the lock wants about 95 Lockpicking just to attempt, and a grandmaster still only succeeds around a third of the time (fine lockpicks help). It is trapped, too: once the lock is open, a disarmer with 95 Remove Trap can attempt the trap, and everyone else minds the explosion.
Two are seeded in each of thirteen dungeons at a time, placed at random floor spots, and a cleared chest is replaced about two hours later. Finding one is a genuine score - and a character who can Detect Hidden or Reveal and pick a stiff lock is the one who cashes in.
Tips
- Bring a group. Anything Ultra Rich or above is built to be fought by a party, and the loot is worth splitting.
- The bigger the health bar, the better the payout - toughness is the loot tier.
- Bosses are the best source of class coins and rare drops thanks to the double rates. Farm them for both.
- Learn each boss's reach. Poison spit, breath cones, boulders, and fear are the fights, not the health bar.
- The Leviathan can only be fought from a ship or a dolphin - it ignores anyone standing on land.
- Roll a character who can Detect Hidden or Reveal (and pick a hard lock) and you can pull golden chests others walk right past.
- See Monsters for the full bestiary and Champion Rotation for how spawns cycle.