 Perilous
 Buccaneer's Den Hardpoint
Overview
Hardpoint is a guild-versus-guild territory war fought across the whole of Buccaneer's Den. Six obelisks stand at fixed points around the island; at any moment exactly one of them is the active hardpoint, glowing in full color while the rest sit charcoal-dark. Every second your guild holds the active obelisk uncontested, you earn a point. First guild to 500 points wins outright; otherwise the highest score when the 30-minute timer runs out takes it.
The active hardpoint moves to a new obelisk every 60 seconds. Ten seconds before each move, a banner and a war-horn announce where the fight is going next - so the battle is a rolling brawl across the island, not a single stand-off.
The Island Map
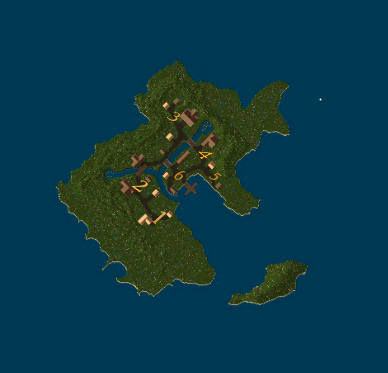
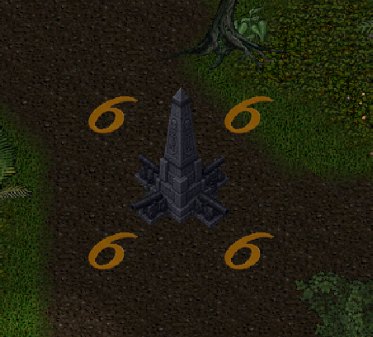
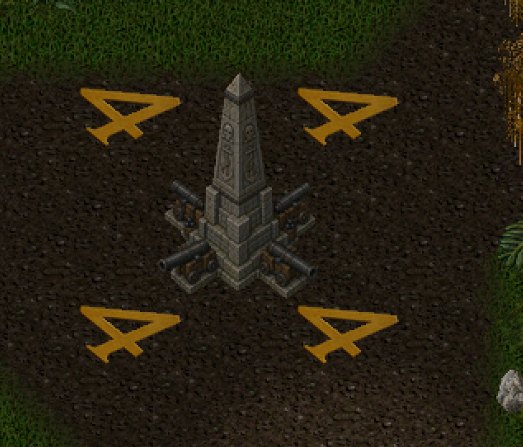
Joining the Battle
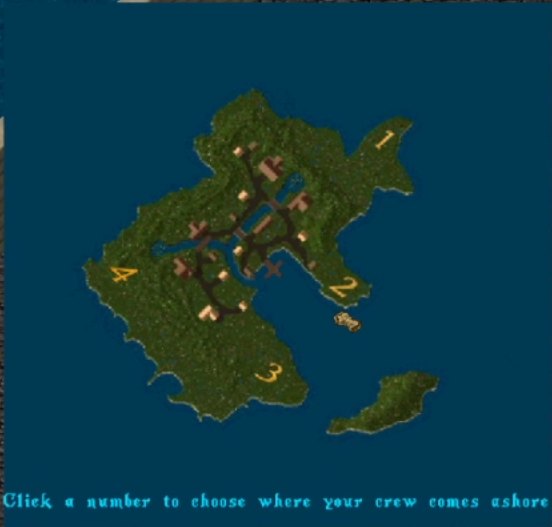
Hardpoint is guilds only - you must wear a guild tag to fight. When the event's signup stone wakes up, double-click it and you'll be shown a map of the island with four numbered landing points. Pick where your crew comes ashore, and you'll wait out the countdown in the Waiting Room before being landed at your chosen beach as the battle begins. Coordinate your landing with your guild - arriving together matters.
Guilds can bring any number of members, but heavy stacking is taxed: every member past ten shaves your scoring rate, so two coordinated crews of ten can out-earn one mob of twenty.
Holding & Scoring
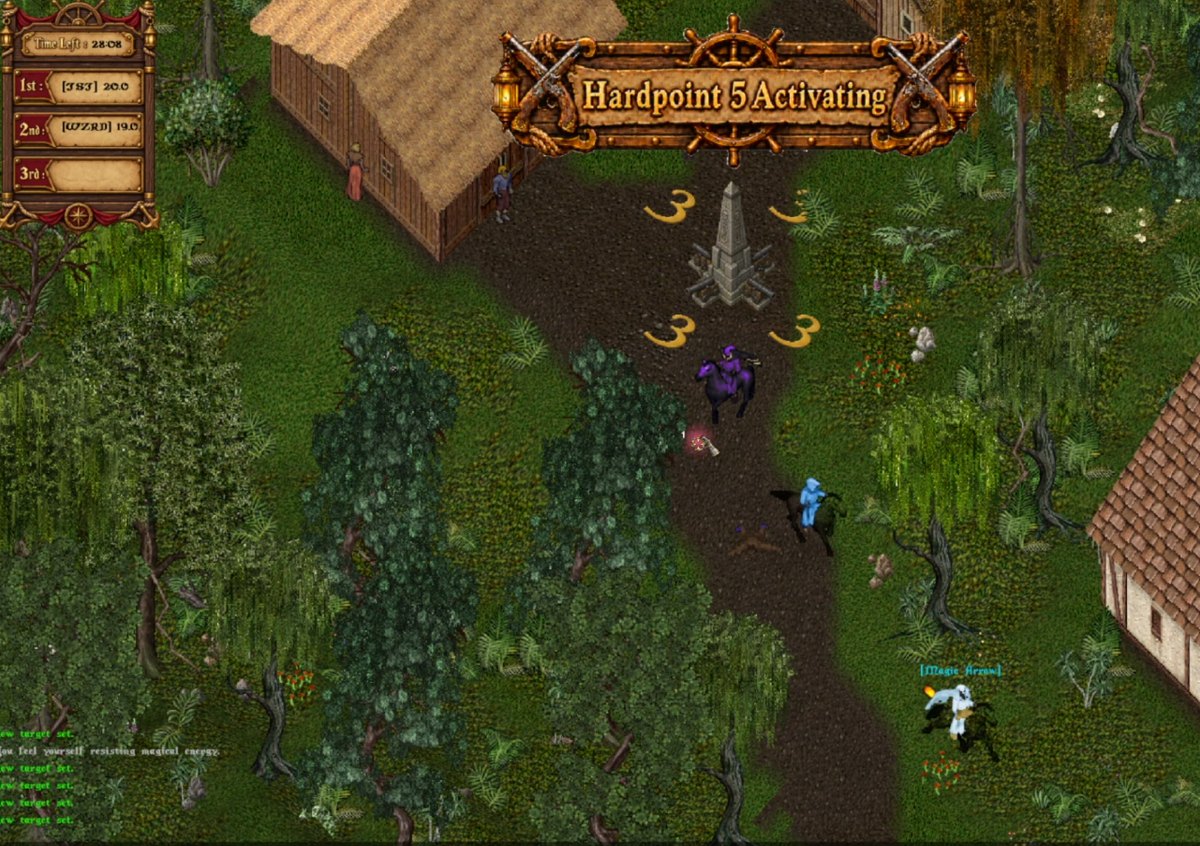
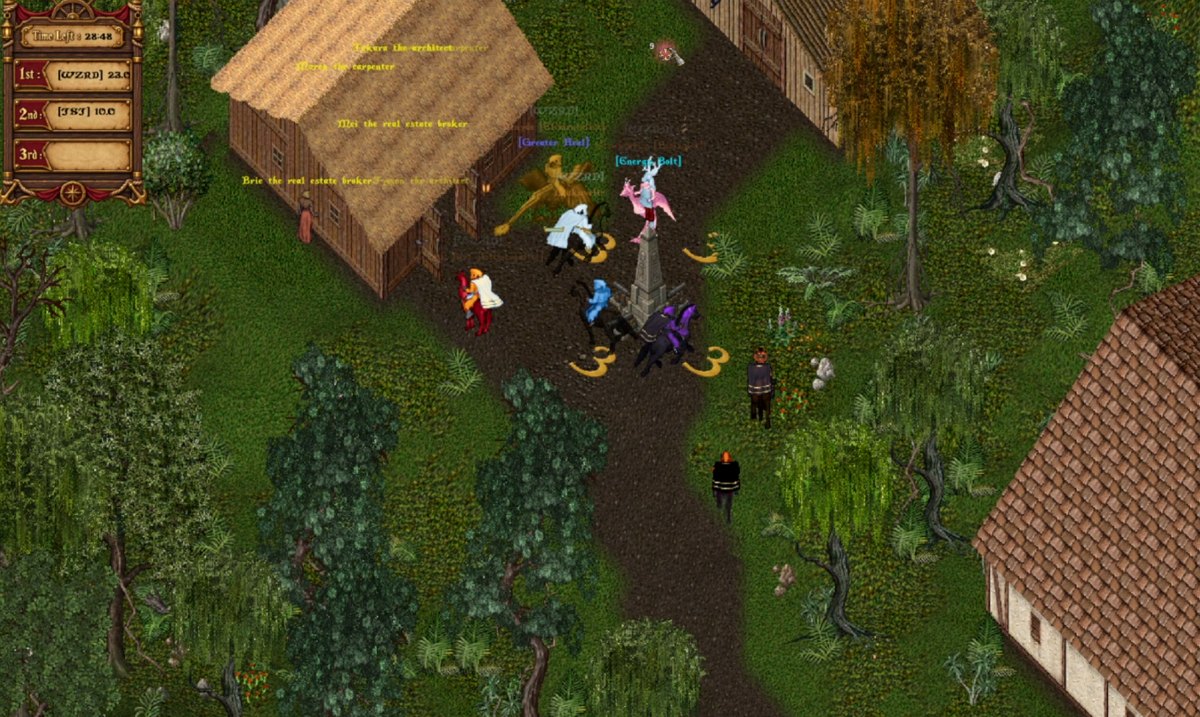
- The capture zone reaches 10 tiles in every direction from the active obelisk.
- Your guild scores one point per second while at least one member stands in the zone and no rival guild has anyone in it. Contested zones pay nobody.
- Every death in the event costs the dying player's guild 5 points.
- Kills, deaths, captures, damage, and healing are all tracked - a full scoreboard (guild and individual views) is shown at event end, plus a live top-3 board on screen during the fight.
Island Rules
While the event runs, Buccaneer's Den plays by war rules:
- Alliances are suspended. Every rival guild flags orange - allies included. Guildmates stay green.
- No neutrals. Anyone without a guild is warned and escorted off the island.
- No magical travel. Gates cannot reach the island in either direction for the duration.
- Basic gear is protected. Ordinary equipment is blessed for the event; gold, magical, enchanted, and runic items still drop as normal.
- Reds who die during the event on the island are treated as event casualties - no resurrection fees.
Some of Buccaneer's Den is hostile ground around the clock, event or not: the island is lawless (fights there draw no murder counts), ships cannot cross its border, no runes can be marked on it, no gates reach it in either direction, and no houses or farms can be placed there.
Death & Resurrection
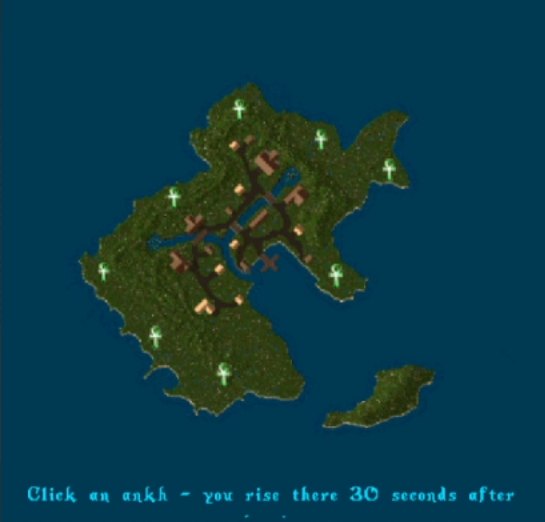
When you die, you're shown the island map with eight shrine sites. Choose one, and 30 seconds later you rise there - hidden, at a spot near (not exactly on) the shrine, at full health and full mana. Your first step or spell reveals you. Shrine-camping is a losing game: defenders can't know exactly where or when you'll stand up.
And killers are rewarded for finishing the job: landing the killing blow on an enemy instantly restores 20 mana - the fight rolls on.
Rewards
Hardpoint pays out in two separate currencies:
- Guild Renown - awarded to the GUILD by final standing. Renown belongs to the guild's ledger and is spent by the guildmaster on guild perks and progression.
- Hardpoint Reward Points - awarded to each INDIVIDUAL fighter, more for higher-placing guilds, with bonus points for the event's top capturer, top killer, and top healer. They're yours alone: spend them at the Hardpoint Rewards vendor on Buccaneer's Den for exclusive true-black dyed gear and prizes. A Hardpoint Champion leaderboard tracks career points earned.
Battle Trophies. Every point you earn here also drops one Battle Trophy into your backpack, one trophy per point. Double-click a trophy to consume it for a random reward: a purse of gold, a magic weapon, a piece of magic armor, or an item from the rare, ultra rare or mythic loot pools. Trophies are not blessed, so bank what you do not cash in.
Tips
- Listen for the horn. Ten seconds of warning is enough to rotate early and own the next zone before the enemy arrives.
- Split your crew: a holding squad on the active point and a scout squad pre-positioned for the next rotation.
- Deaths cost 5 points each - a sloppy fight can cost more than the zone was worth. Disengage when a hold is lost.
- Bring ten or fewer per crew and coordinate multiple guilds' worth of allies... except allies are orange here. Trust no one.
- Healers win holds. An uncontested zone with a healer in it is very hard to flip - and top heals earn bonus renown.